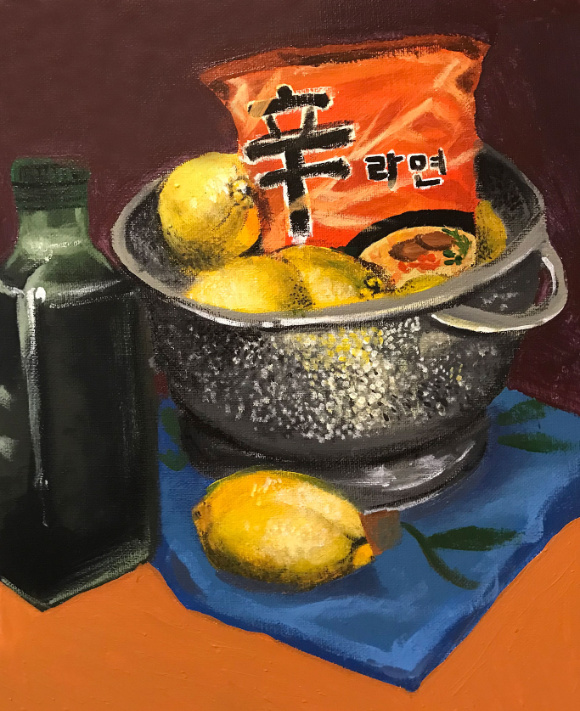
This video demonstrates important acrylic painting techniques in order to create a still life painting from beginning to end.
- 30 second short (palette knives)
- 1 min. short (chalk line tool)
- 1 min. short (brush cleaning tanks)
- 1 min. short (storing acrylics)
- 1 min. short (thick acrylic mediums)
- 1 min. short (thin acrylic mediums)
- 1 min. short (filbert brushes)
- 1 min. short (canvas dents)
- 1 min. short (acrylic varnishes)
- 1 min. short (brush sizes)
- 1 min. short (storing paintings)
- 3 min. video (glass palettes)
- 3 min. video (still life set up)
- 3 min. video (glazing)
- 14 min. video (tutorial)
Techniques covered in the video include palette knives, choosing acrylic colors, using a palette knife, mediums that can be added to the acrylic paint, acrylic varnishes, painting details, and much more.
Demo led by Teaching Artist Alex Rowe.
- Paint Colors Playlist
- Guerra Paint & Pigment Playlist
- 1 min. video (Naples Yellow)
- 1 min. video (Color palette)
- 1 min. video (Cadmium Red Light)
- 1 min. video (Quinacridone Magenta + Yellow Iron Oxide)
- 1 min. video (Pthalo colors)
- 1 min. video (Manganese Brown)
- 1 min. video (Quinacridone Orange)
- 1 min. video (Pyrrole Red & Cadmium Red Medium)
- 1 min. video (Neon colors)

Art Supplies
Palette Colors
- Payne’s Grey
- Titanium white
- Permanent rose
- Naples yellow
- Mixing white
- Cobalt Green
- Cobalt Blue
- Alizarin Crimson
Materials provided by

Responses

One of the many challenges I encountered while working on this piece was mixing the right colors I wanted, and properly shading areas of both shadow and different tone altogether. I found it was extremely easy to end up wasting a whole bunch of paint trying to mix a small swatch for just one small area of the painting, because you keep adding and adding paint and mixing it in and realize later that you have a giant lump on your palette that you won’t even use.
Ruth Lee
Additionally, I learned the hard way not to let brushes soak in my water container for too long (and completely dry them on a towel before diving into paint again), because when painting larger swaths of color, I began to realize that even a tiny bit of water turned my paint into a wash and killed the thick opacity of color I wanted.
I experimented with many compositions before choosing a final setup. The objects were placed on a silk cloth, which I moved around to create folds that would be interesting to paint. Next, I made a preliminary observational sketch with pencil on a wood canvas, and then began mixing colors. A challenge I faced during this time was knowing which colors were most important to the piece – I wanted to cover as much surface area in as little time as possible.
Julie Sharpe
Then, I would be able to focus on details later as opposed to starting with detail work (which is a habit I have). After covering most of the canvas, I started to correct mistakes and work on details. At this point, I worked mostly from a photograph that I took of the piece because I got hungry and had to use some of the food for a meal!
As a free educational source, Art Prof uses Amazon affiliate links (found in this page) to help pay the bills. This means, Art Prof earns from qualifying purchases.


