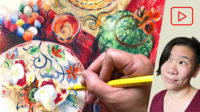
See how to get started with alcohol Inks, and the broad range of visual effects you can create.
This demo shows how the alcohol inks behave with Yupo Paper, watercolor paper, and with tools like Q-tips, sumi brushes, cotton rags, and more.
Techniques with the alcohol inks shown include how to layer colors, how to create gradients and blend to get specific colors, and how to create a balance of saturated and muted colors, and more.
Demo led by Art Prof Clara Lieu.


Video Walkthrough
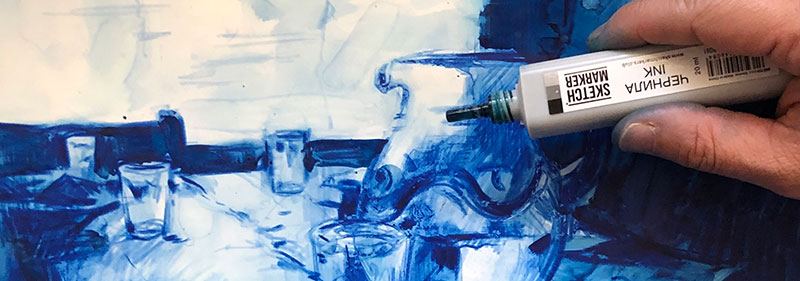
- Alcohol inks are best used on non absorbent papers, like Yupo Paper.
- On watercolor paper, alcohol inks are absorbed instantly into the paper and cannot be activated again.
- Once the alcohol inks dry, the drawing will chip or peel off.
- Seal the drawing with a water based spray seal to protect the drawing.
- Alcohol inks have a mind of their own, they are spontaneous and not easy to control, which can be fun!
- Alcohol inks are terrific to create abstract effects and textures.
- Use Isopropyl Alcohol with the alcohol inks the way you would use water with watercolor.
- Dip Q-tips into the Isopropyl Alcohol and use it to lift the ink.
- Dipping a cotton rag into the Isopropyl Alcohol lets you push and wipe the ink on the Yupo paper.
- Combining the alcohol inks with another drawing medium, like colored pencil allows for more control and detail.
- The alcohol inks can create very soft, blended strokes, but they can also be very graphic and produce crisp, harsh, edges.
- Wiping away with a cotton rag creates a process that is similar to monotypes.
Prof Lieu’s Tips

“I find more often than not, when depicting an interior space, people usually do the wall and either the ceiling and floor, but rarely both. So including those 3 planes, you can really exploit what each plane has to offer in terms of really pushing the space.
I find that it’s easier when you’re learning how to portray space to start with images that are a lot more zoomed out, as the tendency for a lot of artists is to zoom in on a shallow space.
That may seem “easier” as there is less to draw, (it can be overwhelming how much can be packed into a single space!) but actually, a shallow space is much tougher to work with.
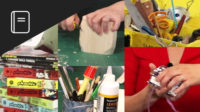
Art Supplies
- Yupo Paper, Medium
- Sketchmarker Alcohol Inks
- Sumi Brushes
- Q-Tips
- Cotton Rag
- Isopropyl Alcohol
- Faber-Castell Albrecht Durer Watercolor Pencils
- Utility knife
- Hot Pressed Watercolor Paper
Materials provided by
Reference Photos

As a free educational source, Art Prof uses Amazon affiliate links (found in this page) to help pay the bills. This means, Art Prof earns from qualifying purchases.