See a step by step demo of the woodcut process, a relief printmaking technique from beginning to end.
- 1 min short (best & worst tools)
- 1 min short (blotters)
- 1 min. short (printmaking paper)
- 1 min short (bad woodcut tools)
- 1 min. short (shopping for paper)
- 2 min. version (signing & editions)
- 5 min. version (hand printing)
- 41 min. version (full tutorial)
You’ll see comprehensive explanations of tools, types of wood, carving, inking, hand printing, pin registration, preparing paper, and more. Demo by Art Prof Clara Lieu.


Thank you to our sponsor!
Thank you to Arielle Finberg for sponsoring this video!
“I hope this tutorial helps your artistic dreams come true.”
Sponsoring a video is a wonderful gesture you can make to enrich our global community of artists. Read about the impact a sponsorship.
Learn how you can sponsor a video.

Video Walkthrough
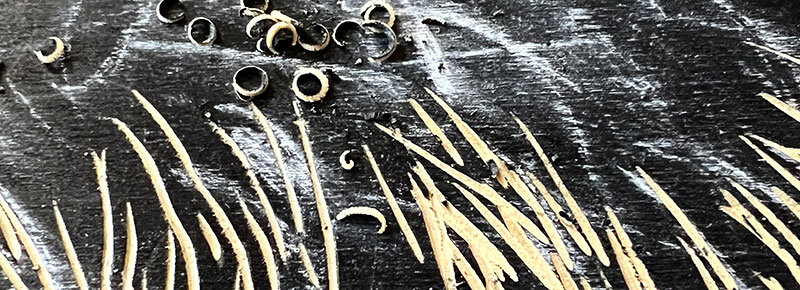
- Woodcut is a very stable, relief printmaking process.
- Linoleum block carving is a good entry point for relief printmaking.
- A linoleum block will not yield marks that are as thin and precise and can often flake off when the areas are extremely detailed.
- Any type of wood can be used for woodcut, you’ll have to get your wood at a lumberyard, not an art supply store.
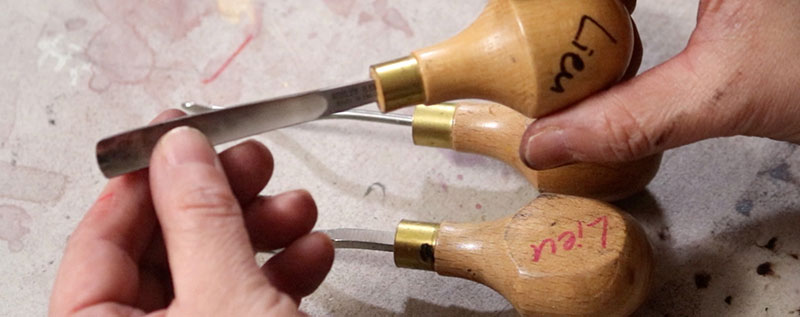
- Your carving tools really can make or break your experience with woodcut, poor tools can make the process incredibly frustrating.
- The Ashley Iles: special back bent tool block cutters are excellent tools because they are back bent and can cut more gracefully than tools that are not.
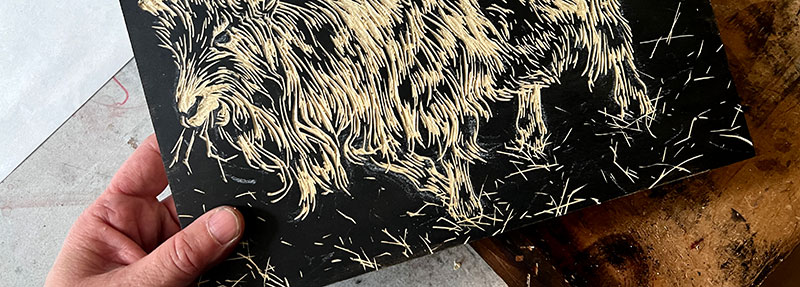
- Woodcuts can have very bold, stark shapes that can be really compelling and dramatic.
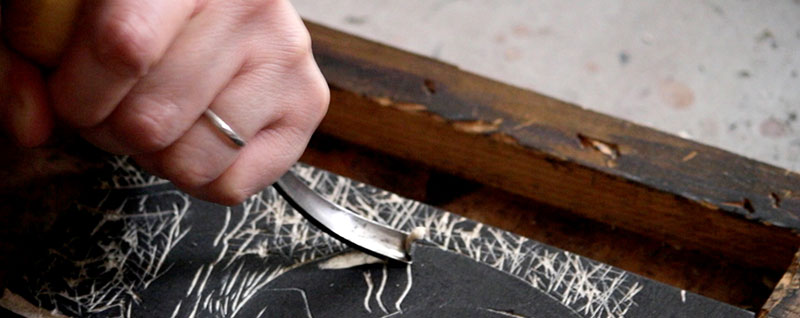
- A bench hook is important for safety, to keep your block stable as you carve.
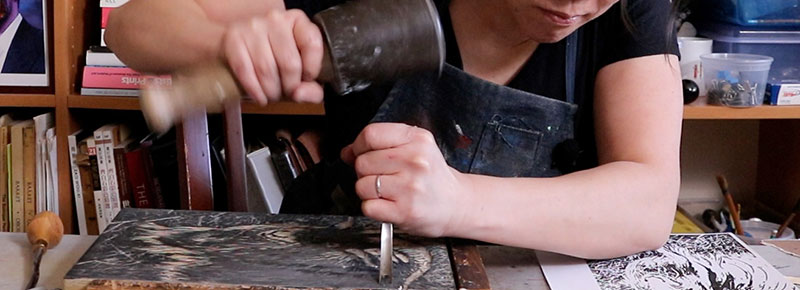
- A “Wood is Good ” rubber mallet is very helpful when clearing out very large areas, you can use the weight of the mallet to help you.
- You have to have a lot of patience to carve, it’s not fast and rushing it won’t get you good results.
- Doing a quick rubbing of your block with a graphite stick can be a great way to preview what your block looks like without the hassle of printing.
- The process of inking and printing a relief print may seem very straightforward and easy, but it’s not!
- When inking, you want to print about 3 prints where you deliberately under ink the block and slowly build towards a fully inked block.
- Too much ink can be a problem as very thin carved areas can get filled in.
- Your first proof should have just the thinnest layer of ink, and then build from there.
- Wood putty can be used to fill small areas that you don’t like. (don’t buy Miniwax, it’s the one that messed me up in the tutorial)
- Pin registration with Ternes Burton Stripping Tabs and Ternes Burton stainless register pins makes for extremely precise registration.
- Rice papers are helpful when hand printing because they are thinner and more likely to absorb the ink compared to thicker papers.
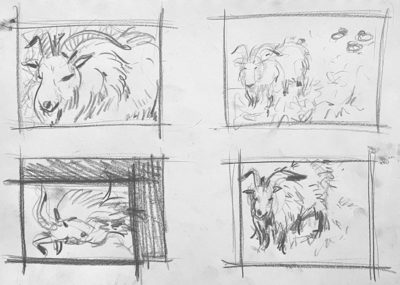
- Digital sketches can be helpful when trying to figure out what to carve.
- Create several digital sketches that are very different to explore your options.
Art Supplies
general
- Cotton rags
- Plastic scraper
- Poplar wood (go to a lumberyard)
- Wood putty (don’t buy Miniwax, it’s the one that messed me up)
drawing
- White conté crayon (or any chalky white drawing tool)
- Faber-Castell colored pencil
- Sharpie marker
- India ink
- Graphite stick
- Sumi brush (or any soft brush)
- Faber-Castell dust free eraser
Paper
tools
- “Wood is Good ” rubber mallet
- Bench hook
- Sharpening stone
- Sharpening stone oil
- Ashley Iles: special back bent tool block cutters
- Ashley Iles back bent tools: V shape
- Ashley Iles back bent tools: U shape
- Ashley Iles back bent tools: Gouge
registration
- Blue Painter’s Tape
- Heavy weight cardboard
- Ternes Burton Stripping Tabs
- Ternes Burton stainless register pins
inking & printing
Printmaking Suppliers
Prof Lieu’s woodcuts


Artists mentioned
- Albrecht Dürer
- Alison Saar
- Anselm Kiefer
- Artemio Rodriguez
- Christian Rohlfs
- Conrad Felixmüller
- David Alfaro Siqueiros
- Elizabeth Cartlett
- Émile Bernard
- Erich Heckel
- Ernst Ludwig Kirchner
- Ethel Magafan
- Franz Marc
- Giuseppe Scolari
- Hale Woodruff
- Heinrich Campendonk
- John J.A. Murphy
- Kang Ning
- Karl Schmidt-Rottluff
- Käthe Kollwitz
- Leonard Baskin
- Margaret Burroughs
- Max Beckmann
- Max Pechstein
- Edvard Munch
- Niccolò Boldrini
- Emil Nolde
- Rufino Tamayo
- Sue Coe
- Walter Helbig

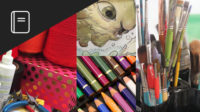
Reference Photos


As a free educational source, Art Prof uses Amazon affiliate links (found in this page) to help pay the bills. This means, Art Prof earns from qualifying purchases.