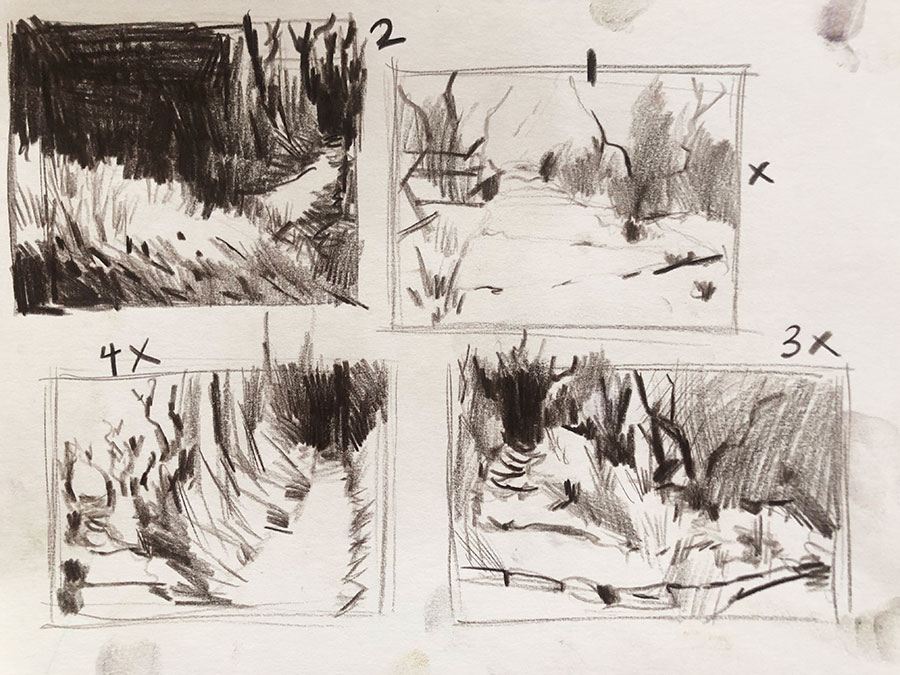
This video is a demo of how to draw thumbnails using several reference photos to create an original composition.
- 1 min. short (small thumbnails)
- 1 min. short (large thumbnails)
- 1 min. short (thumbnail supplies)
- 1 min. short (oil pastel fixative 2)
- 78 min video (worst mistakes)
- 59 min. video (tracing paper)
See the process of how to merge the reference photos to create a dynamic landscape that shows depth. Demo led by Art Prof Clara Lieu.


- 2 min. video (color thumbnails)
- 1 min. short (oil pastel fixative 1)
- 5 min. version (summary)
- 1 hour 39 min. version (tutorial)

Video Walkthrough
- Be sure to draw a literal rectangle for each thumbnail sketch so that you are very aware of the edges and corners of the composition.
- Emphasizing the trees in the composition to create a sense of structure within the landscape.
- Adding value to your thumbnail is necessary for this image, which is more impressionistic.
- Merging multiple reference photos to create an new landscape is a surefire way to make that the work comes across as original.
- Be conscious of the foreground, middle ground, and background.
- Atmospheric perspective is a great way to achieve a sense of depth in a landscape.
- Take the time to notice what are the parts of the reference photos that you as an artist are attracted to, and how you can emphasize that.
- Copying the reference photo verbatim means that you’re not really composing as an artist.
- If your final art media will be in color, it’s good to do a thumbnail with value, and then to follow up with a thumbnail in color.
- Break down the landscape in terms of patches of value to organize it.
- Divide up the space with the value to create different “pockets” of space in the composition.
- Look at the direction of the trees, the bushes, the hay in the landscape and show that in your drawing.
- When choosing the thumbnail to use for your final artwork, sometimes a process of elimination can be helpful.
- You can create thumbnails that are variations of other thumbnails to do slight adjustments.
- Don’t be afraid to expand your thumbnail or crop it as you are sketching.
- Consider how to merge your reference photos, don’t just place them side by side.

Get the art school training you never had
Stop making art all by yourself! Create art you can feel proud of in Art Club and get out of a rut quickly with our staff of 6 professional artists.
Prof Lieu’s Tips

It’s common for people to know about thumbnails, but generally speaking, most people have very little experience.
From what I have seen online, there aren’t a lot of reliable resources that provide a comprehensive look into the process as well.

Or, people know about thumbnails, but don’t think they are necessary. When I was at RISD it would take me sometimes the entire semester to convince students that thumbnails can be incredibly useful, and that they can actually save you time long term!
Reference Photos

As a free educational source, Art Prof uses Amazon affiliate links (found in this page) to help pay the bills. This means, Art Prof earns from qualifying purchases.


