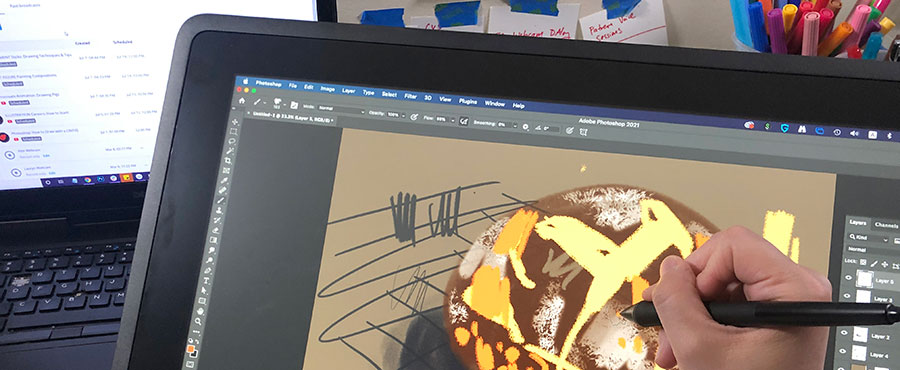
Watch Prof Lieu fall on her face trying digital art for the first time in Procreate.
- 1 min. short (blue light)
- 1 min. short (Photoshop vs. Procreate)
- 1 min. short (Cintiq vs. iPad)
- 1 min. short (6B brush)
- 2 min. video (summary)
- 80 min. video (tutorial)
- Procreate area
Will decades of experience with traditional media make any difference here??? (answer: nope, especially when it comes to deleting layers…)
Thankfully Jordan McCracken-Foster patiently held her hand through every step.

Video Walkthrough
- There are SO many brush options on Procreate, how do you even begin to figure out which one to use?
- Brush settings: the size, the opacity, the color are all to be considered.
- Creating multiple layers allows for a lot more flexibility and changes.
- Play around with many brushes to find one that suits your needs.
- Many brushes have specific textures to them.
- Changing the opacity on an entire layer to do tweaks.
- Draw with the Apple Pencil to get more variety of strokes.
- The Apple Pencil is sensitive to the physical pressure of your lines.
- The physical pressure of your lines is often times faster and easier to adjust rather than changing the size and opacity of the brush.
- Creating layers is a fundamental part of digital painting.
- Merging layers is a helpful tweak.

As a free educational source, Art Prof uses Amazon affiliate links (found in this page) to help pay the bills. This means, Art Prof earns from qualifying purchases.


